
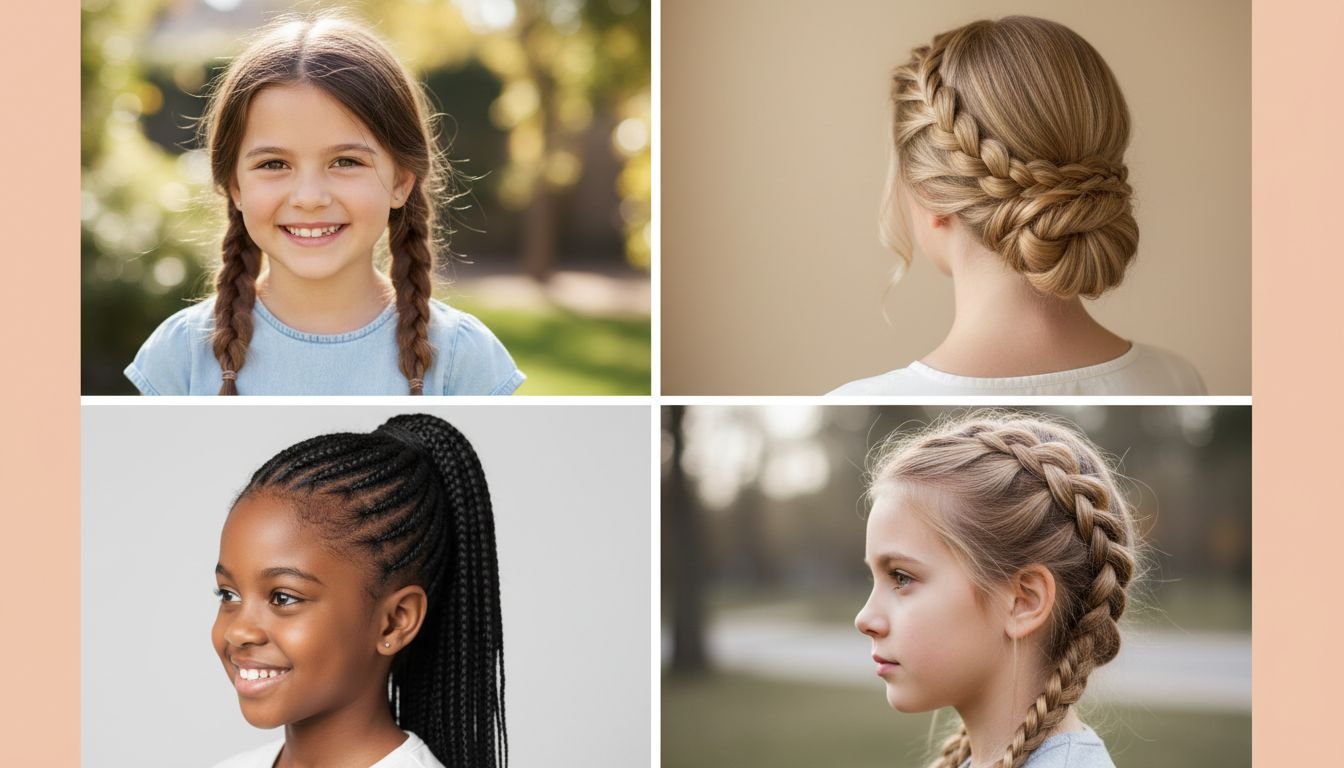
Mornings with little ones can feel chaotic. You rush to find shoes, pack lunches, and get out the door. Hair often becomes the last priority. But you still want your little girl to look neat and feel confident.
This guide solves that specific problem. We have curated 20 stunning yet simple braided hairstyles. These looks work for school, playdates, or special events. Most take less than 10 minutes. They keep hair tangle-free and out of the face all day. You do not need to be a professional stylist to master them.
Key Takeaways
- Speed matters: Most of these styles take under 10 minutes to complete.
- Durability is key: These braids withstand playground activity and nap time.
- Versatility rules: You can adapt these looks for short, long, curly, or straight hair.
- Comfort comes first: We focus on styles that are gentle on tender scalps.
Table of Contents
- Wrap Braid
- Double Braid with Curl
- Zipper Braid
- Rose Braid
- Fishtail
- Basket Braid
- Simple
- Waterfall Braid
- Ponytail Braid
- Simple
- Mini Dutch
- Crown Braid
- Bubble Braids
- Braided Buns
- Knots
- Glorious
- Half Up
- Fun Braids
- Full Braids
- Bun
- Popular Asked Questions
- Conclusion
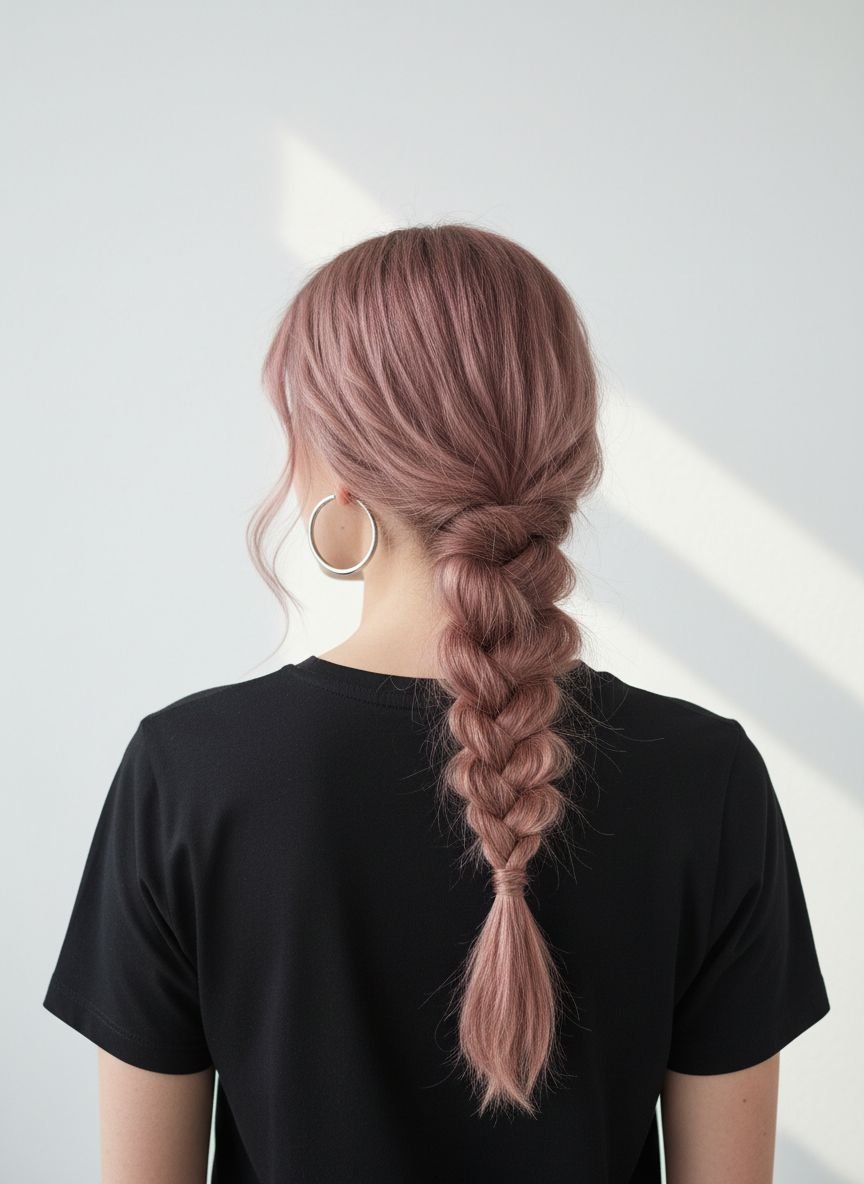
Wrap Braid

This style looks intricate but relies on a simple concept. You take a small section of hair and wrap it around a base ponytail. The texture creates a polished look that hides the elastic band. It works exceptionally well for active days because the base is secure.
Start with a high ponytail. Separate a small strand from the underside. Braid this small strand all the way to the end. Wrap the micro-braid around the main ponytail elastic. Secure the end with a bobby pin or tuck it under the band. The contrast between the smooth ponytail and the textured wrap adds immediate visual interest.
Pro Tip: Use a little water or gel on the wrapping strand to keep it smooth and flyaway-free.
Save this idea to your Pinterest.
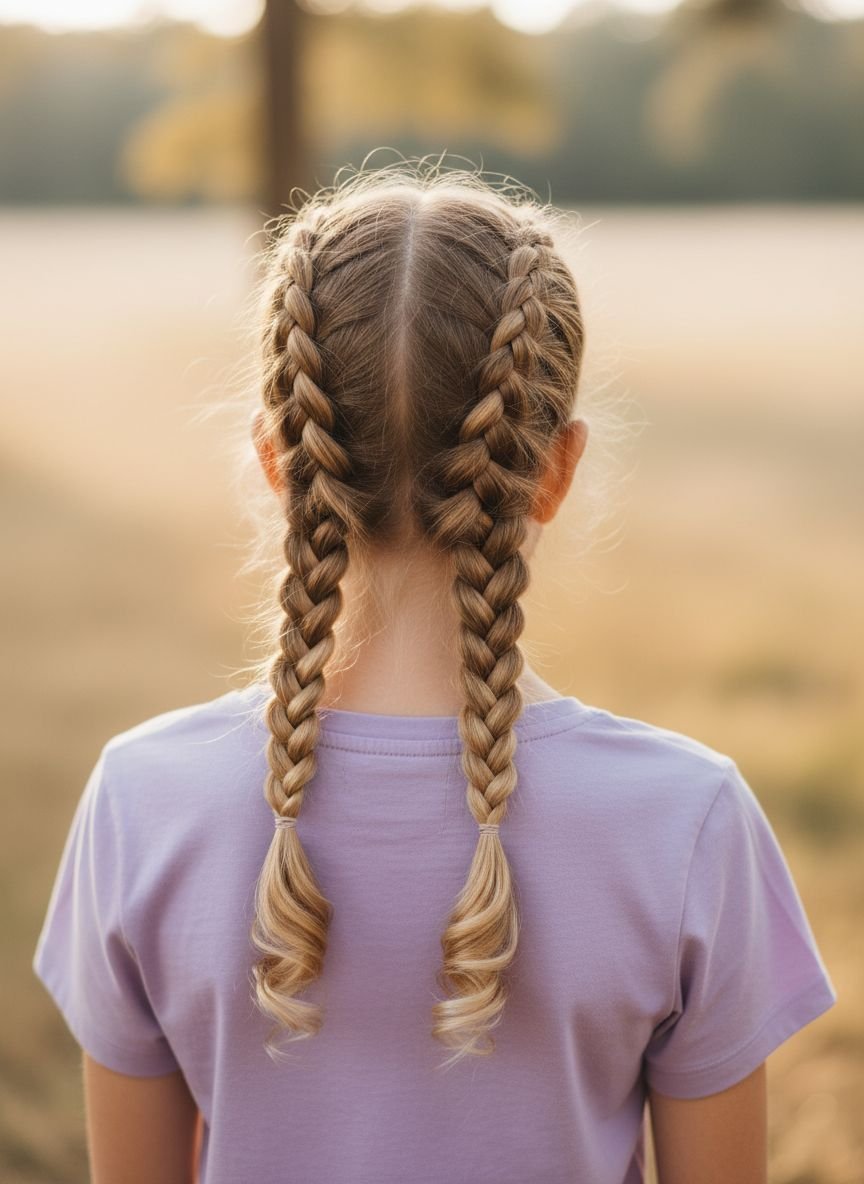
Double Braid with Curl
This look balances structure with softness. Two tight braids sit on the scalp, keeping hair out of the eyes. The ends are left loose and curled. It gives a sweet, angelic vibe perfect for picture day or parties.
Part the hair down the middle. Create two French or Dutch braids starting at the hairline. Stop braiding once you reach the nape of the neck. Secure with clear elastics. Use a curling wand or rollers on the loose ends. The volume at the bottom balances the sleekness at the top.
Pro Tip: Apply a heat protectant spray before curling the ends to keep young hair healthy.
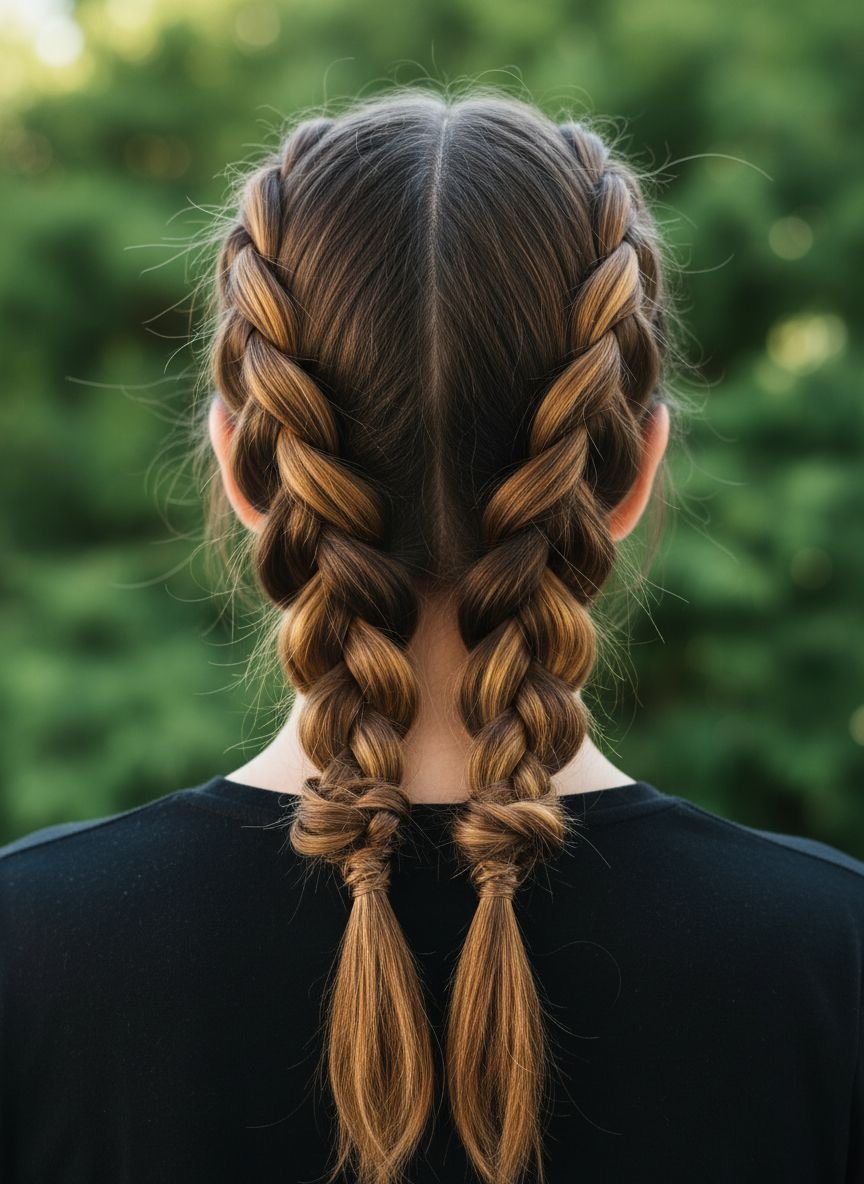
Zipper Braid
The zipper braid is a showstopper. It looks exactly like a zipper running up the head. The pattern is tight and complex, making it very secure. This style works best on damp hair to get the cleanest lines.
You work with three strands but cross them under the middle strand rather than over. The key is to pick up very small sections from the sides. Keep your tension high. The result is a raised, 3D effect that sits on top of the hair. It looks incredibly professional but just takes a bit of patience.
Pro Tip: Use a rat-tail comb to get precise parts. Clean parts make the “zipper” pop.
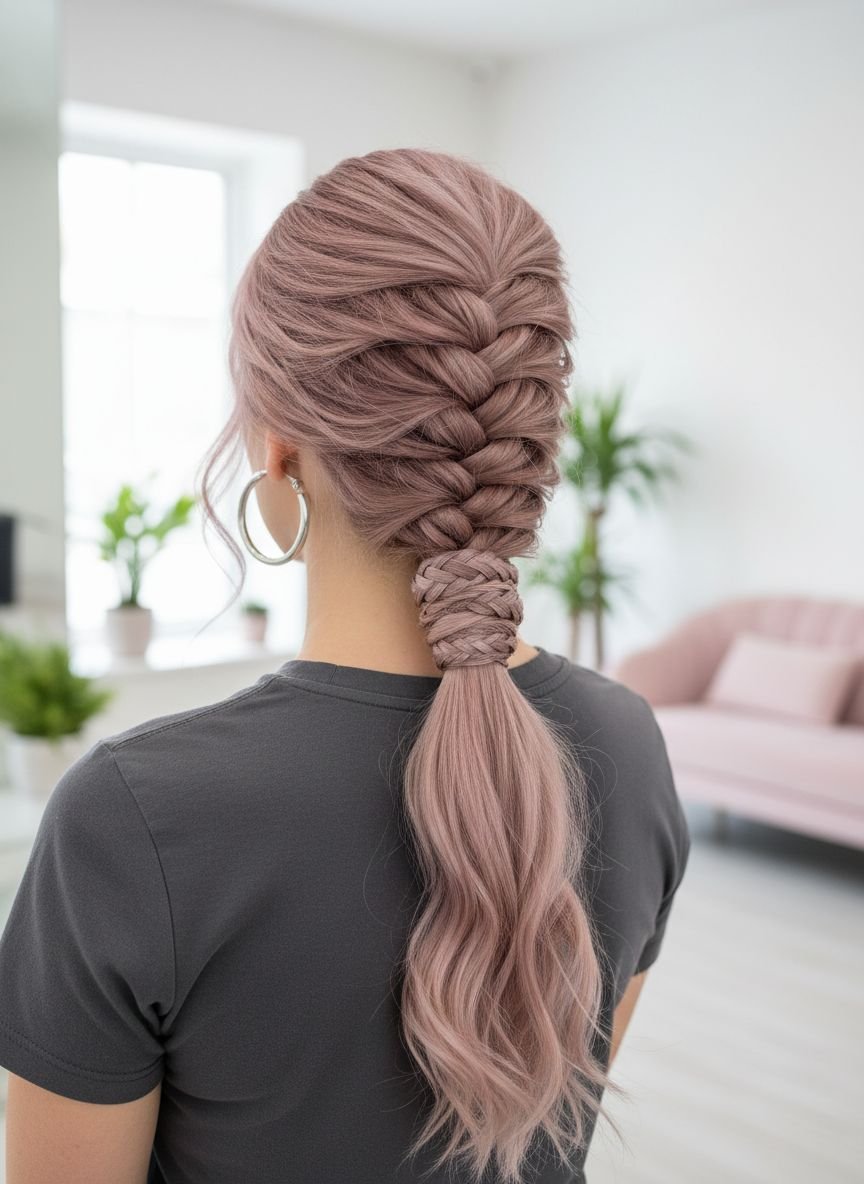
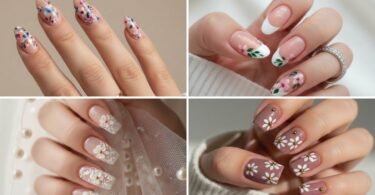
Rose Braid
Turn a basic braid into a floral masterpiece. This style twists a braid around itself to form a flower shape. It sits flat against the head and looks like an accessory made of hair.
Start with a simple three-strand braid. Pull on the loops of just one side of the braid to “pancake” or flatten them. Roll the braid into a spiral, keeping the flattened loops on the outside. Pin it flat against the head. The loosened loops mimic flower petals.
Pro Tip: Use bobby pins that match the hair color to make the mechanics invisible.
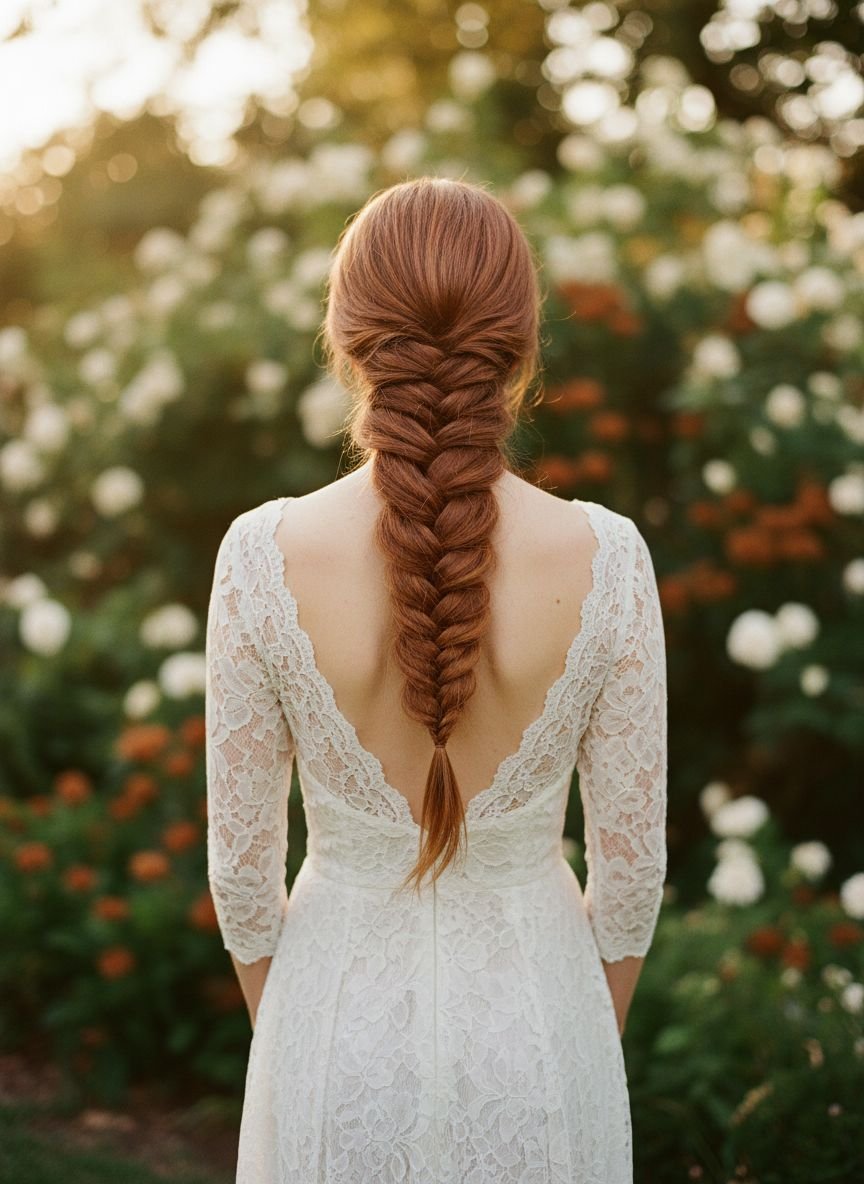
Fishtail
The fishtail looks more advanced than a standard plait. It uses two sections instead of three. The texture is fine and detailed, resembling a fish skeleton. It is a classic boho style that looks great messy or neat.
Divide the hair into two large sections. Take a tiny piece from the outer edge of the left section. Cross it over to join the right section. Repeat on the other side. Keep the pieces small for the best effect. The rhythm is soothing once you get the hang of it.
Pro Tip: Once finished, gently tug on the sides of the braid to make it look thicker and fuller.
Save this idea to your Pinterest.
Quick Comparison: Elastics vs. Ribbons vs. Scrunchies
| Accessory | Best For | Pros | Cons |
|---|---|---|---|
| Clear Elastics | Intricate styles | Invisible, strong hold | Can break hair if removed roughly |
| Silk Scrunchies | Sleeping / Loose styles | Gentle, prevents breakage | bulky, slips out of fine hair |
| Ribbons | Decorative accents | Adds color, festive | purely decorative, no hold |
Basket Braid
This style weaves hair to look like a wicker basket. It usually involves multiple strands crossing over each other. It is a protective style that keeps all hair tucked away.
You create a “lattice” effect. Use four or more strands. Weave them over and under. It takes practice but the result is durable. This style can last for days if wrapped properly at night. It prevents tangles effectively.
Pro Tip: Use a styling cream to give the hair some grip. Slippery hair makes this weave difficult.
Simple
Sometimes less is more. This refers to the classic three-strand side braid. It is the go-to for rushed mornings. It sweeps hair to one side, looking effortless and tidy.
Brush all hair to the left or right. Divide into three equal parts. Cross right over middle, then left over middle. Repeat until you reach the end. It takes less than two minutes. It works on almost any hair length past the chin.
Pro Tip: Add a colorful bow at the end to match her outfit.
Waterfall Braid
This is a romantic, half-up style. It looks like strands of hair are flowing through the braid like water. It keeps hair off the face while leaving the length down.
Start a French braid near the temple. Drop the bottom strand after every cross. Pick up a new strand from behind the dropped one. Continue this across the back of the head. The result is a cascading effect that looks beautiful on straight or wavy hair.
Pro Tip: Curl the dropped strands to enhance the “waterfall” visual.
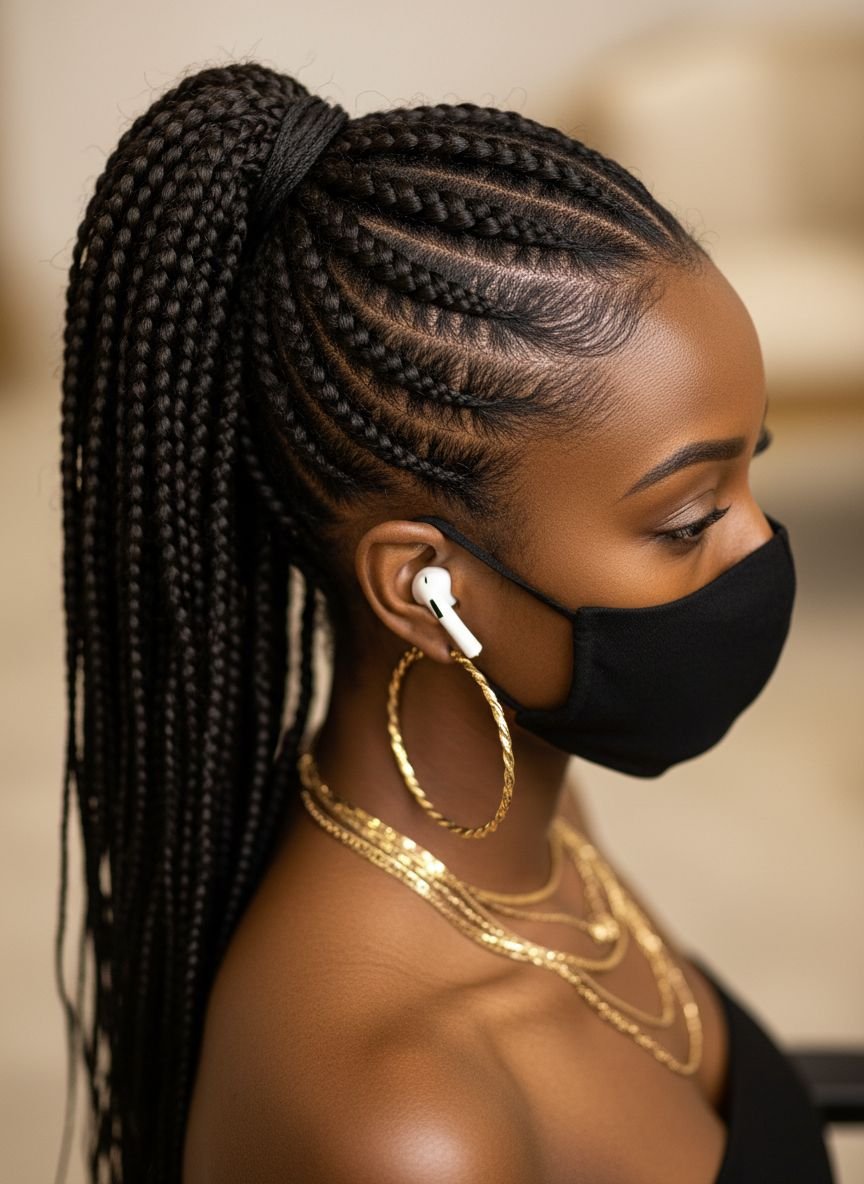
Ponytail Braid
This combines the height of a pony with the control of a braid. It is sporty and practical. It keeps hair off the neck during sports or hot weather.
Secure a high ponytail first. Braid the tail using a standard three-strand technique. Secure the end. This prevents the ponytail from tangling during play. It swings less than a loose pony, which keeps it neat.
Pro Tip: Braid tight for sports, or braid loose for a casual weekend look.
Save this idea to your Pinterest.
Simple
This variation of “Simple” is the Rope Twist. It uses two strands instead of three. It looks like a rope and is much faster than a standard braid.
Divide a ponytail into two sections. Twist both sections to the right individually. Then, wrap them around each other to the left. The counter-rotation locks the twist in place. It will not unravel.
Pro Tip: Twist tightly. The tension holds the style together without needing products.
Get The Look: Essential Tools
To achieve these styles, you need a basic kit.
- Rat-Tail Comb: For clean, sharp parts.
- Detangler Spray: To stop tears before they start.
- Mini Elastics: Get a bulk pack of clear and black bands.
- Spray Bottle: Water helps reset bedhead instantly.
Mini Dutch
Mini Dutch braids are small, tight, and sit high on the head. They are often used as accents. You can do one on each side of a center part.
A Dutch braid is an “inside-out” French braid. Cross strands under, not over. This makes the braid pop up. Doing them “mini” means using only the top section of hair. It acts like a headband, keeping fringe back.
Pro Tip: Stop the braid at the ear and secure it, letting the rest flow into the loose hair.
Crown Braid
Fit for a princess. This braid circles the entire head like a halo. It is elegant and keeps every strand secure. Perfect for weddings or flower girls.
Start behind one ear. French braid around the hairline. Pick up hair from the center as you go. Continue until you reach the start. Tuck the tail under the beginning of the braid. Pin it in place.
Pro Tip: This style works best on second-day hair. Freshly washed hair might be too slippery.
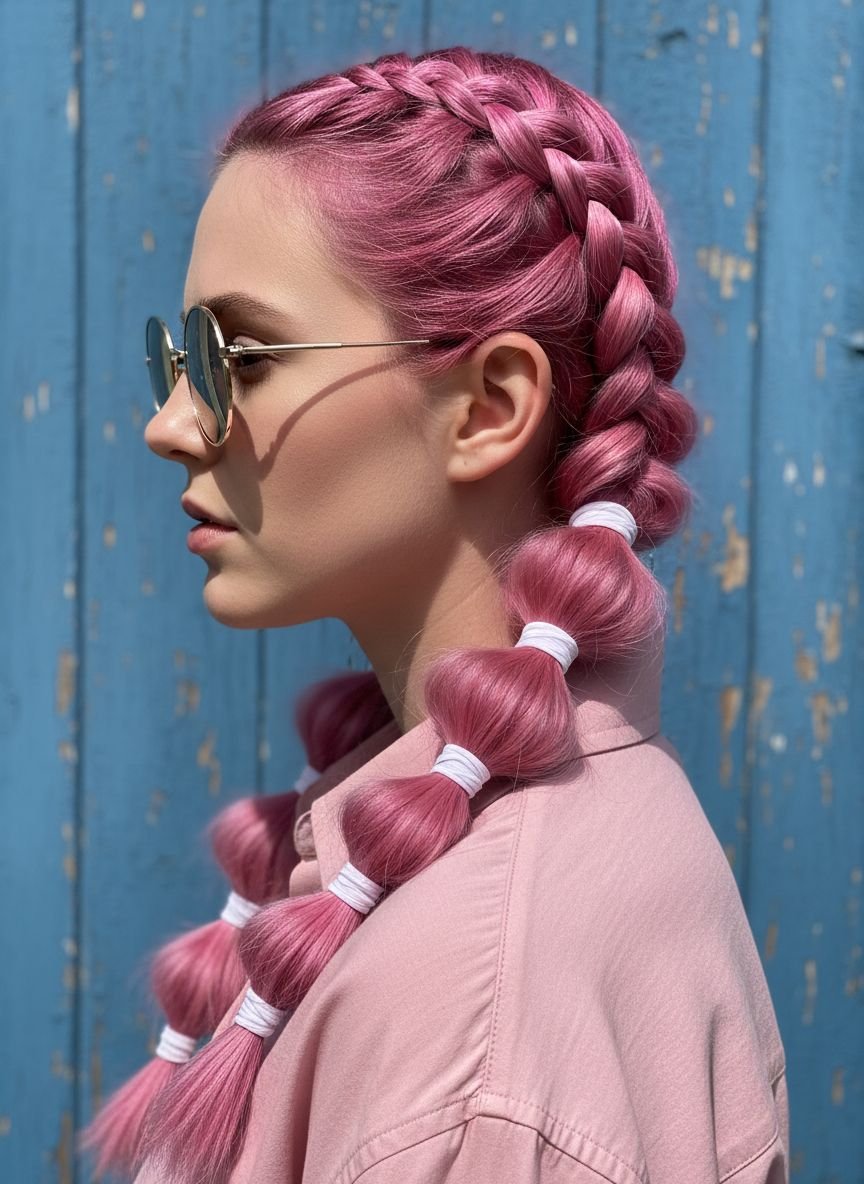
Bubble Braids
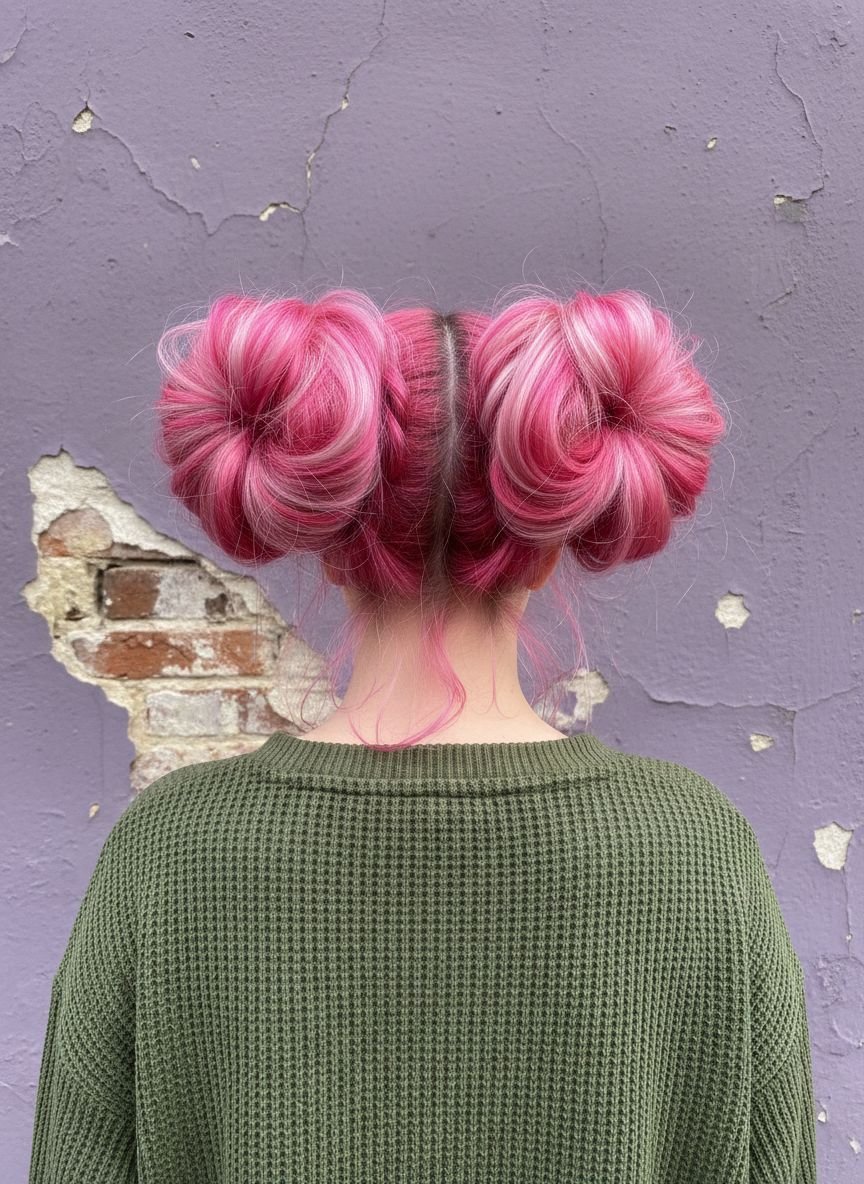
Technically not a weave, but a series of elastics. It is incredibly trendy and easy. It creates a voluminous, playful look.
Make a ponytail. Place another elastic two inches down. Pull the hair between the elastics to puff it out. Repeat down the length. It looks like a string of bubbles. It is great for kids with fine hair as it adds faux volume.
Pro Tip: Use colored elastics to create a rainbow effect.
Braided Buns
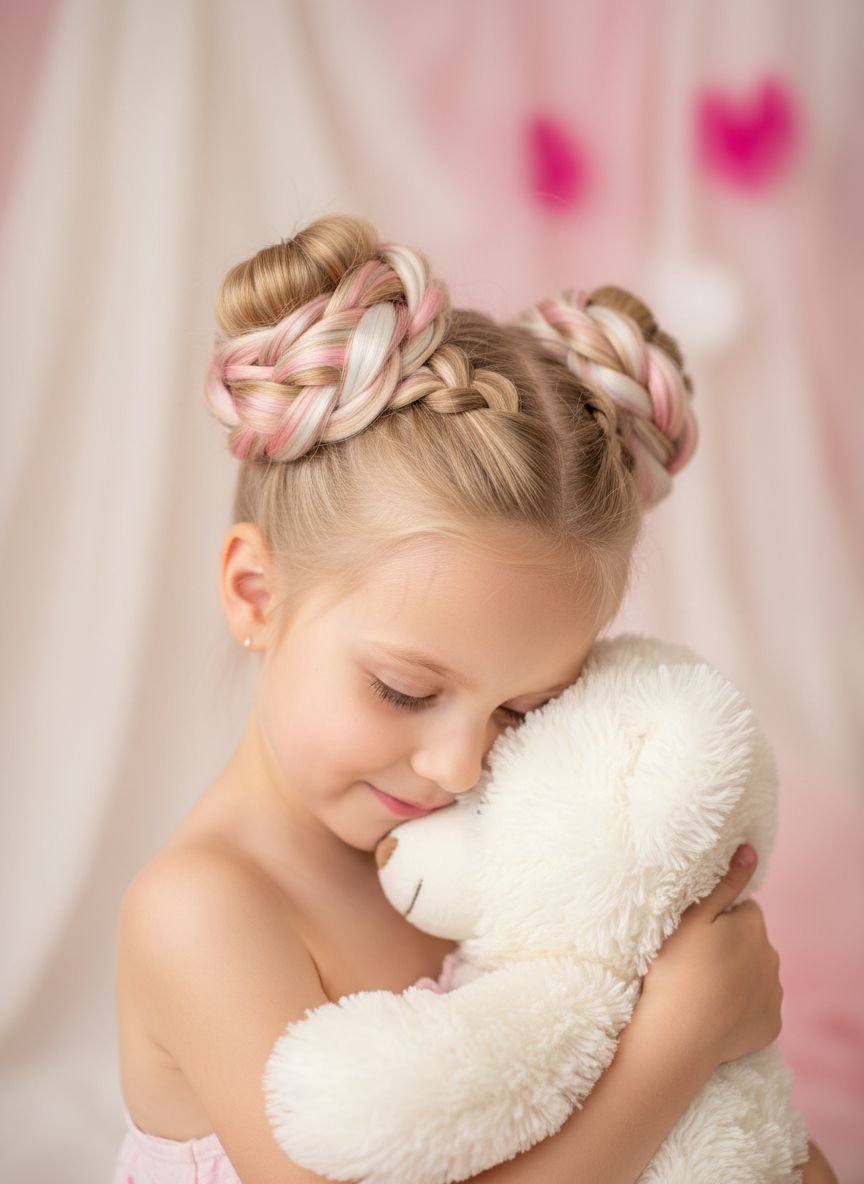
Double the fun. This style features two space buns made of braids. It is cute, symmetrical, and very stable.
Part hair down the middle. Make two high pigtails. Braid each pigtail. Wrap the braids around their bases to form buns. Pin them down. This style survives jumping, running, and napping.
Pro Tip: Leave the ends of the braids sticking out slightly for a messy, fun texture.
Save this idea to your Pinterest.
Knots
Bantu knots or Celtic knots offer a sculptural look. Hair is twisted until it coils onto itself. It creates a geometric pattern on the scalp.
Section the hair into small squares. Twist each section until it buckles into a tight knob. Secure with a band or pin. It is a protective style that can also create heatless curls when taken down.
Pro Tip: Ensure the parts are very straight (grid-like) for a neat appearance.
Glorious
This is a statement Halo braid. It is thick, loose, and sits further back on the head. It looks regal and “glorious.”
Use all the hair density for this. Pancake the braid significantly. Pull loops wide to make the braid look massive. It frames the face beautifully. It works well for thick, long hair types.
Pro Tip: Use a texturizing spray before braiding to add grip and volume.
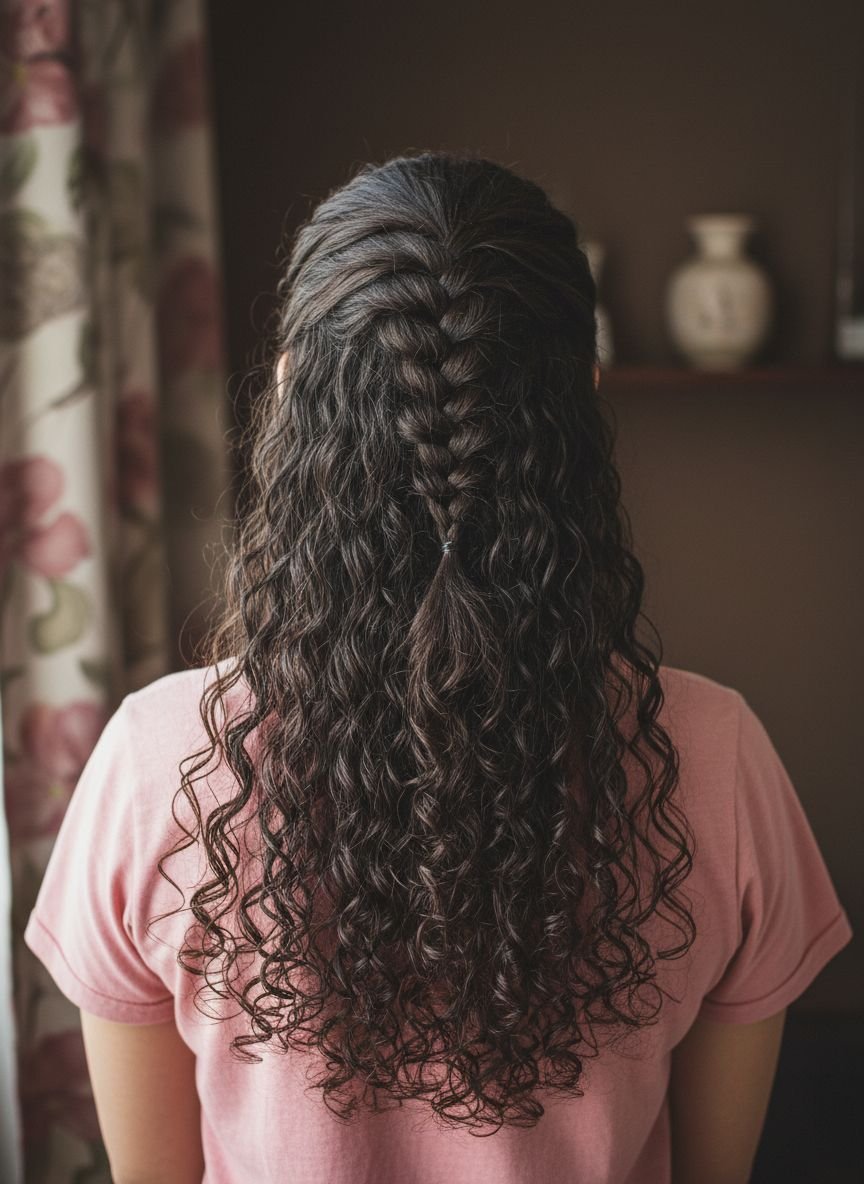
Half Up
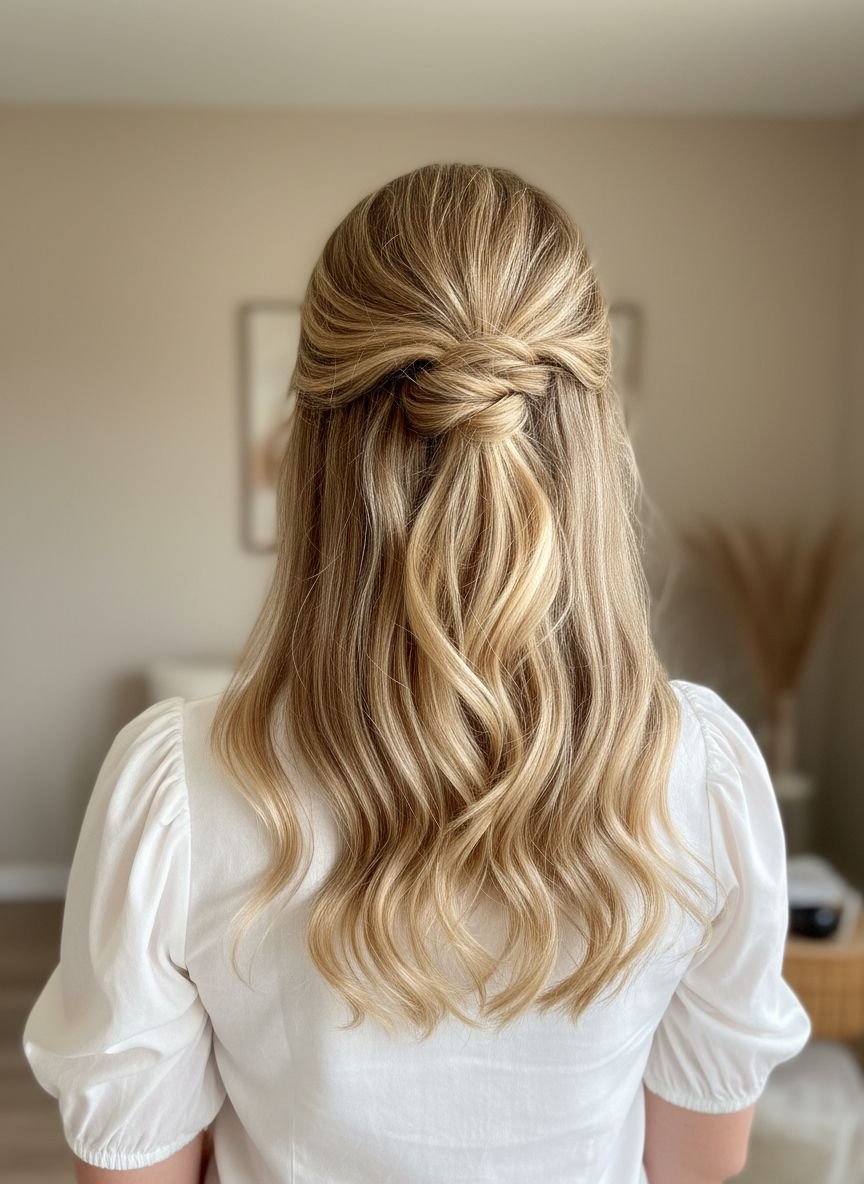
The best of both worlds. The top half is braided back, while the bottom flows free. It keeps hair tidy but shows off length.
Section off the hair from the ears up. Braid this top section. You can do a French braid, fishtail, or simple plait. Secure it. The bottom hair remains loose.
Pro Tip: Curl the bottom section for a fancy finish or straighten it for a sleek look.
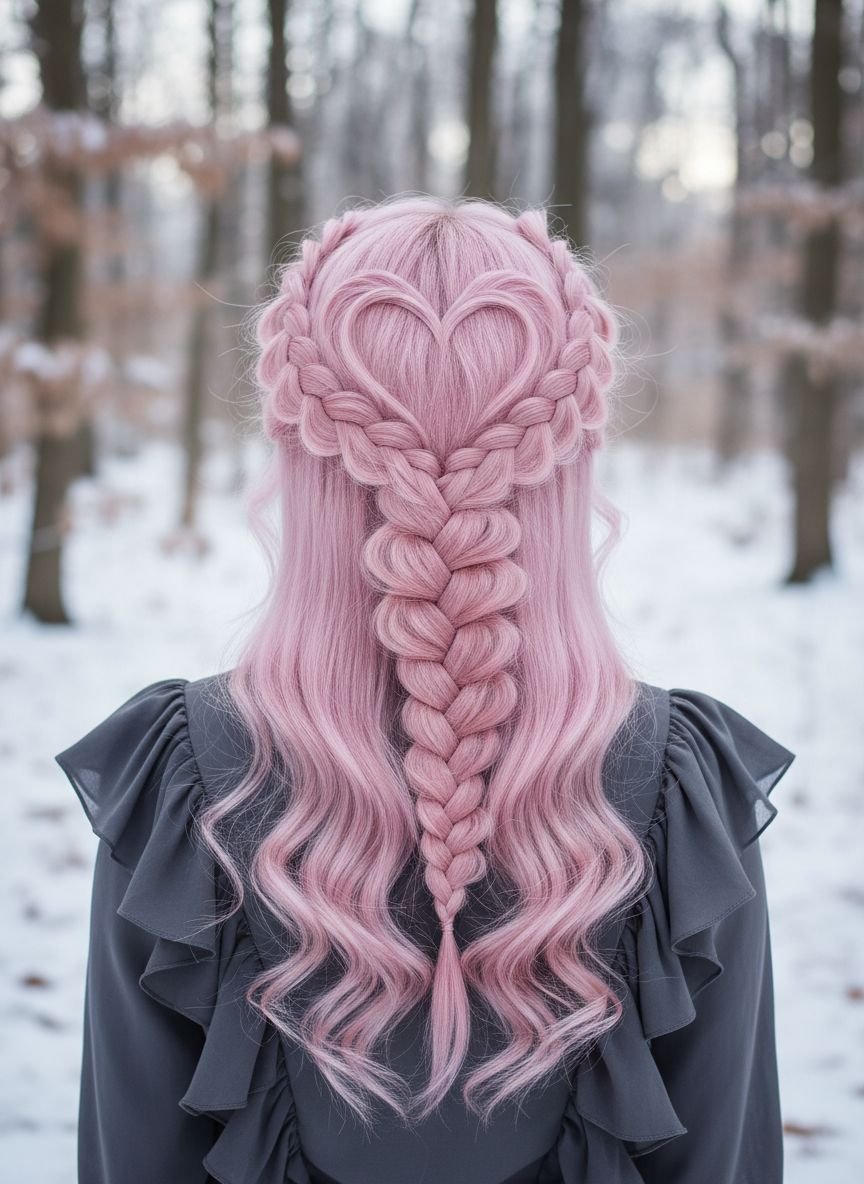
Fun Braids
This category includes shapes like hearts or stars. You use the partings to draw a design. It is creative and kids love it.
To make a heart, start two small curved French braids at the crown. Join them at the bottom point of the heart. It requires precision but looks incredible. It is a favorite for Valentine’s Day.
Pro Tip: Draw the shape on the scalp with the comb tip before you start braiding.
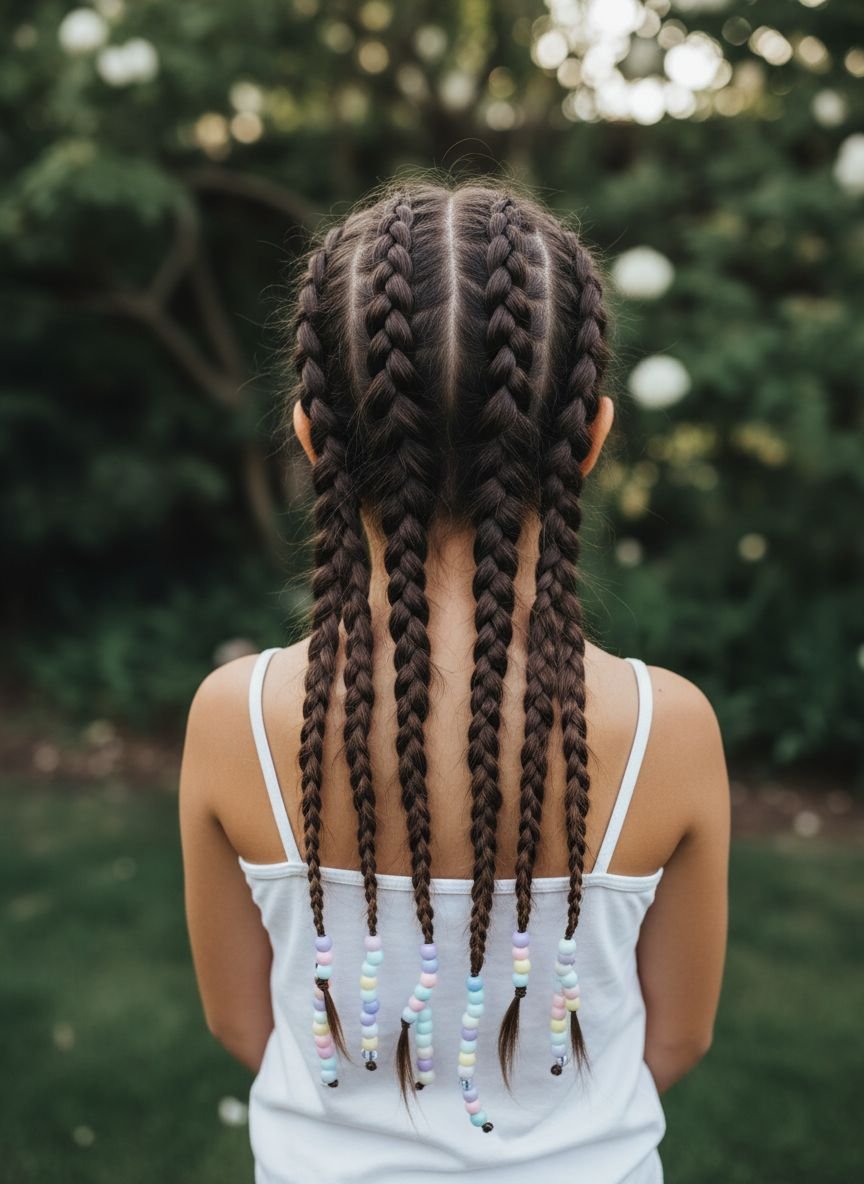
Full Braids
This refers to box braids or cornrows covering the whole head. It is a long-term protective style. It takes time to install but lasts for weeks.
Section the hair into many small parts. Braid each one independently. You can add synthetic hair for length or color. This style protects natural hair from daily manipulation.
Pro Tip: Keep the scalp moisturized with oil to prevent itching.
Bun
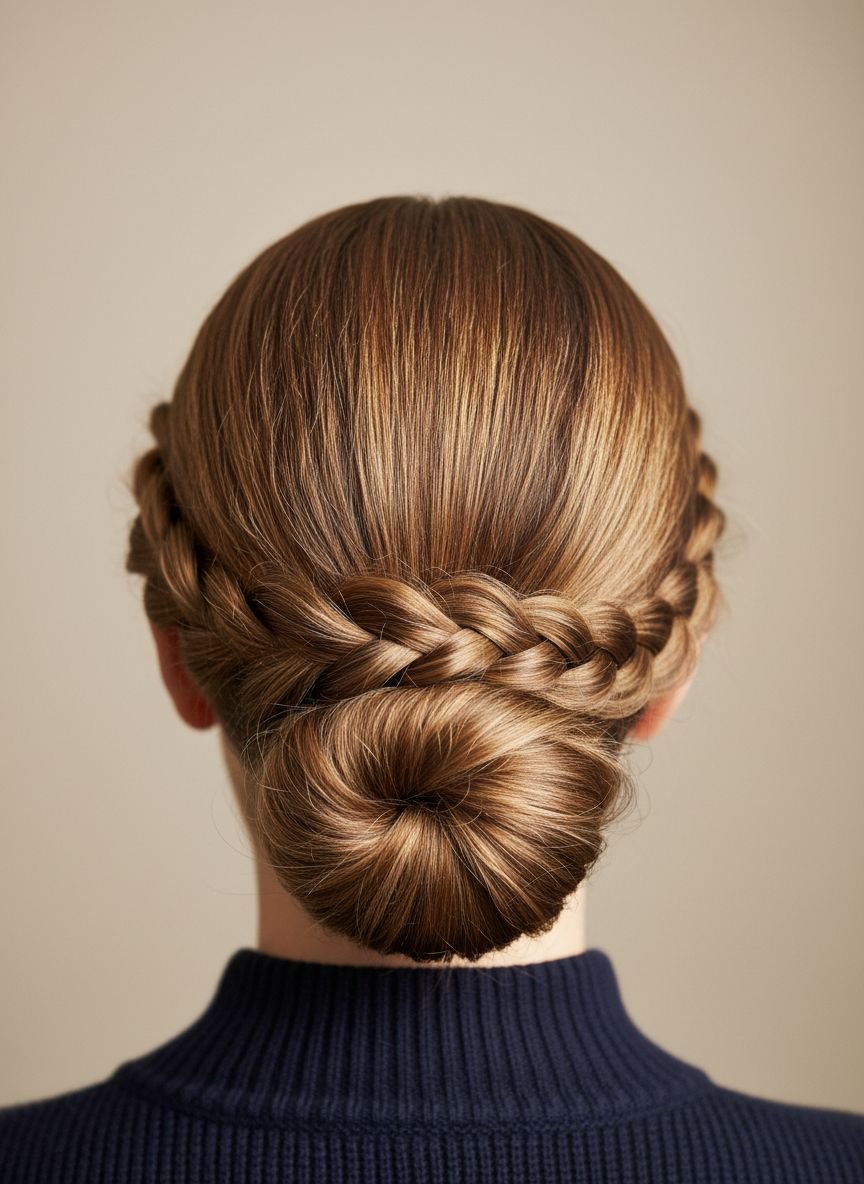
A braided base leading into a top knot. It adds detail to a basic bun. It looks polished from the back.
Flip the head upside down. French braid from the neck up to the crown. Secure with an elastic. Gather the rest of the hair and the braid end into a bun. It creates a beautiful detail on the back of the head.
Pro Tip: Use a “donut” form to make the bun look perfectly round and full.
Save this idea to your Pinterest.
Popular Asked Questions
How do I keep my child’s braids neat for longer?
Moisture and protection are the secrets. Apply a light mousse or foam over the finished braids to set them. At night, have your child wear a silk or satin bonnet. This reduces friction against the pillow, which causes frizz. For extra hold, you can put a stocking cap over the bonnet.
What are the best products for braiding kids’ hair?
You need a few staples. A good detangler spray is essential to prevent pain. For the braiding process, use a “braiding jam” or edge control gel. These products provide grip and smooth down flyaways without being hard or crunchy. Avoid products with high alcohol content as they dry out the hair.
How can I braid if my child is tender-headed?
Preparation is everything. Never braid dry, tangled hair. Use a wet brush and detangler, starting from the ends and working up. Distraction helps immensely; let them use a tablet or watch a show. When braiding, do not pull tight at the root. You can braid loosely near the scalp and tighten the pattern slightly as you move down.
How long should I leave braids in?
It depends on the style and hair texture. Simple daily braids should be taken out before bed. Tighter protective styles like cornrows or box braids can last 1 to 2 weeks. However, if you see frizz or the braids become loose after a few days, it is time to take them down. Leaving them in too long can cause matting.
Conclusion

Braided hairstyles for little girls do not have to be a struggle. With these 20 options, you have a style for every occasion. Whether you choose the speed of a Ponytail Braid or the detail of a Zipper Braid, you are creating beautiful memories. These styles save time and keep your little one looking great.


Leave a Comment