
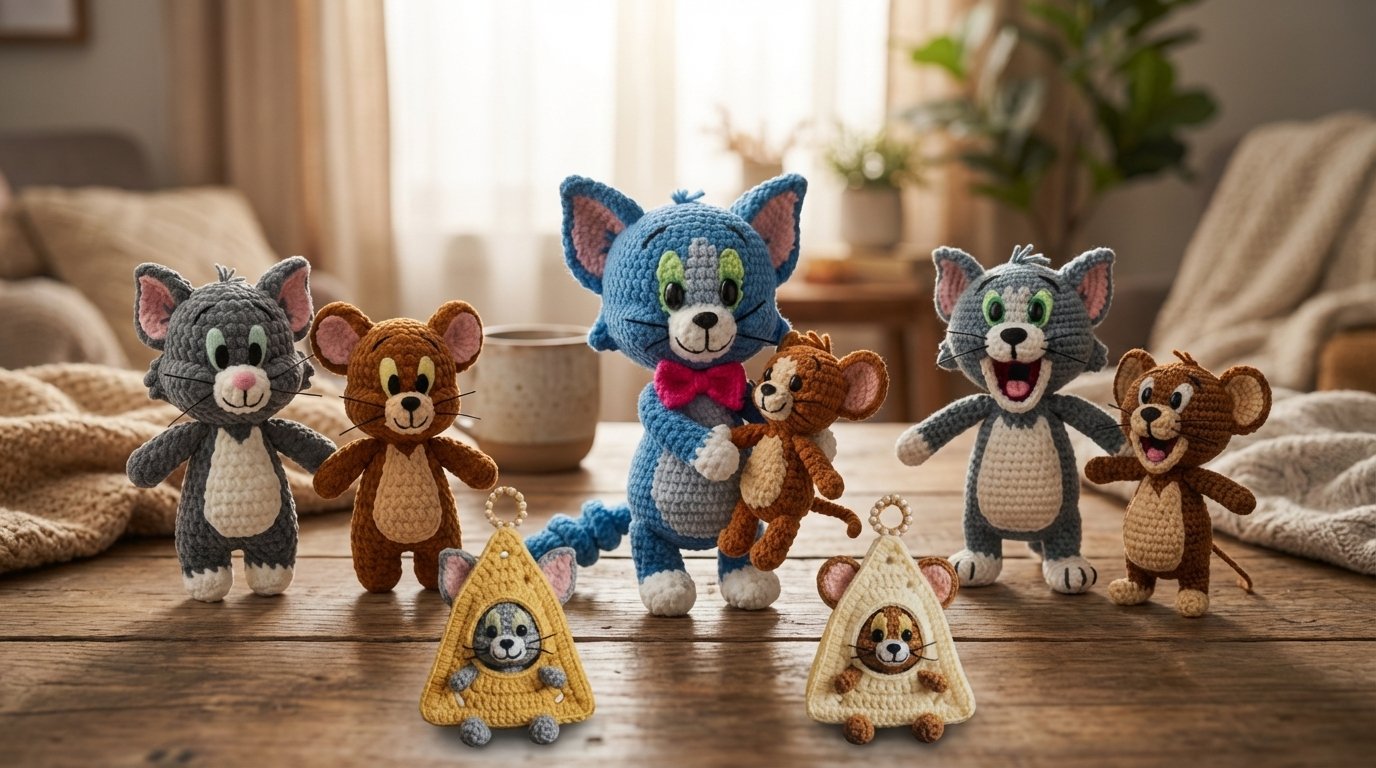
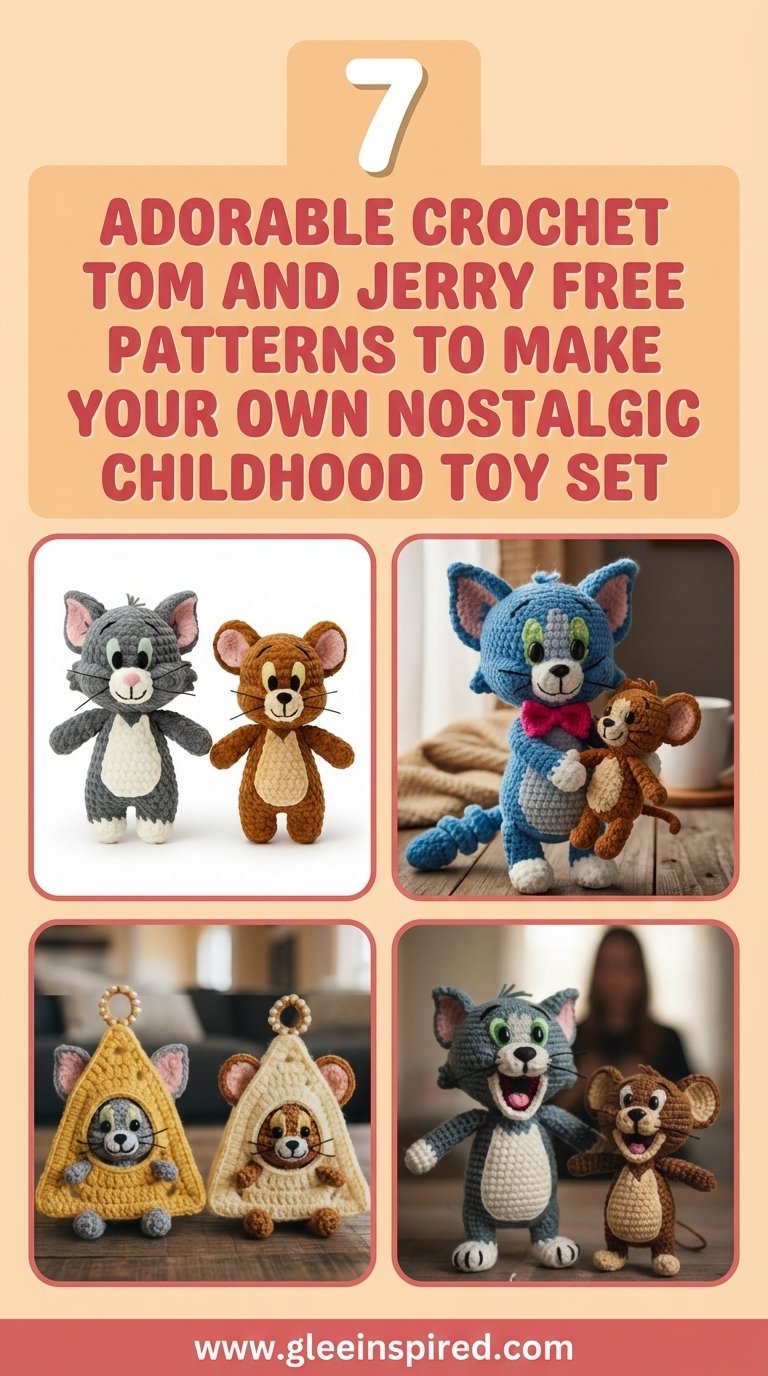
The classic cat and mouse duo never goes out of style. You likely grew up watching their endless chase, laughing at the slapstick humor and rooting for the underdog. Now, you can bring that nostalgia into your home with yarn and a hook. However, finding quality patterns that capture their specific expressions without looking distorted is surprisingly difficult. We curated the best free options for you to ensure your project looks professional. These projects range from beginner-friendly keychains to detailed plushies that look exactly like the cartoon.
Key Takeaways
- Nostalgic Value: These patterns capture the classic 1940s and 50s animation style perfectly.
- Skill Variety: Options range from “Beginner Friendly” (simple shapes) to “Advanced” (detailed facial embroidery).
- Material Guide: Learn why cotton yarn is superior to acrylic for defined stitches in character toys.
- Cost Effective: All patterns listed are free or low-cost DIY alternatives to expensive vintage merchandise.
Table of Contents
- Getting Started With Character Amigurumi
- Chubby Tom and Jerry
- Little Mouse Jerry
- Amigurumi Tom
- Fat Toys
- Cheesy Cosplay Keychain
- Crochet Classic Duo
- The Little Jerry
- Popular Asked Questions
- Conclusion
Getting Started With Character Amigurumi
Before diving into the patterns, it is vital to understand that character crochet requires tighter tension than blankets or scarves. To achieve the professional “store-bought” look, most experts recommend using the “Yarn Under” technique (hook over the yarn, pull through) rather than the standard “Yarn Over.” This creates ‘X’ shaped stitches that stack neatly, preventing the stuffing from showing through. Furthermore, always size down your hook. If your yarn label suggests a 4.0mm hook, use a 2.5mm or 3.0mm hook to ensure a dense fabric that holds its shape during the stuffing process.
Chubby Tom and Jerry
This design takes the classic characters and gives them a “kawaii” makeover, focusing on round shapes and simplified features. The chubby aesthetic is not only adorable but also much easier for beginners to execute because it reduces the need for complex limb attachment. The focus here is on the spherical head and body, often worked as one continuous piece to minimize sewing.
Visually, the charm lies in the disproportionate size of the head compared to the tiny limbs. To achieve the softest, most huggable result, consider using chenille or velvet yarn. These bulky yarns work up quickly, meaning you can finish a “Chubby Tom” in a single afternoon. However, be aware that chenille yarn can be tricky for seeing stitches, so use a stitch marker at the start of every round. The facial features are usually minimal, often using safety eyes and a simple embroidered mouth, which gives them a sweet, innocent expression unlike their chaotic cartoon counterparts.
Pro Tip: If using chenille yarn, burn the tips of the yarn tail with a lighter before starting to prevent the fluff from shedding off the central string.
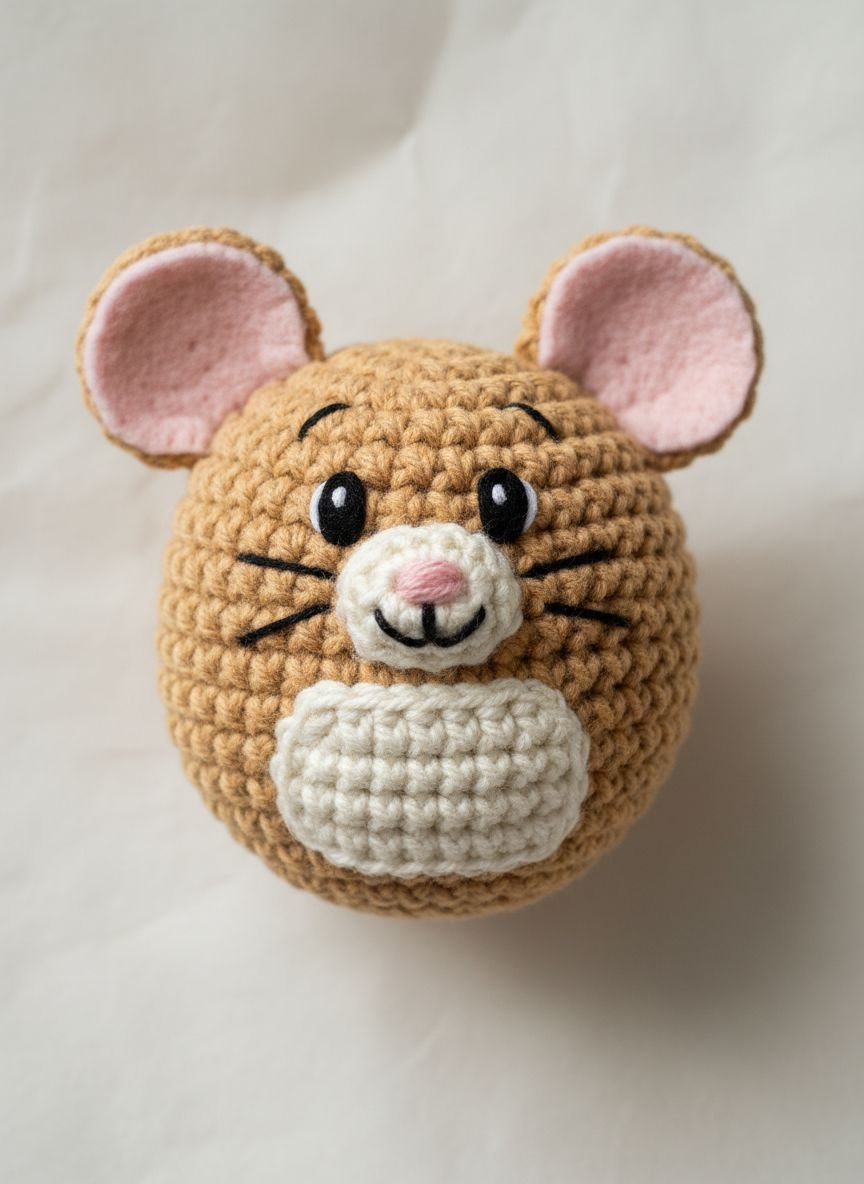
Little Mouse Jerry
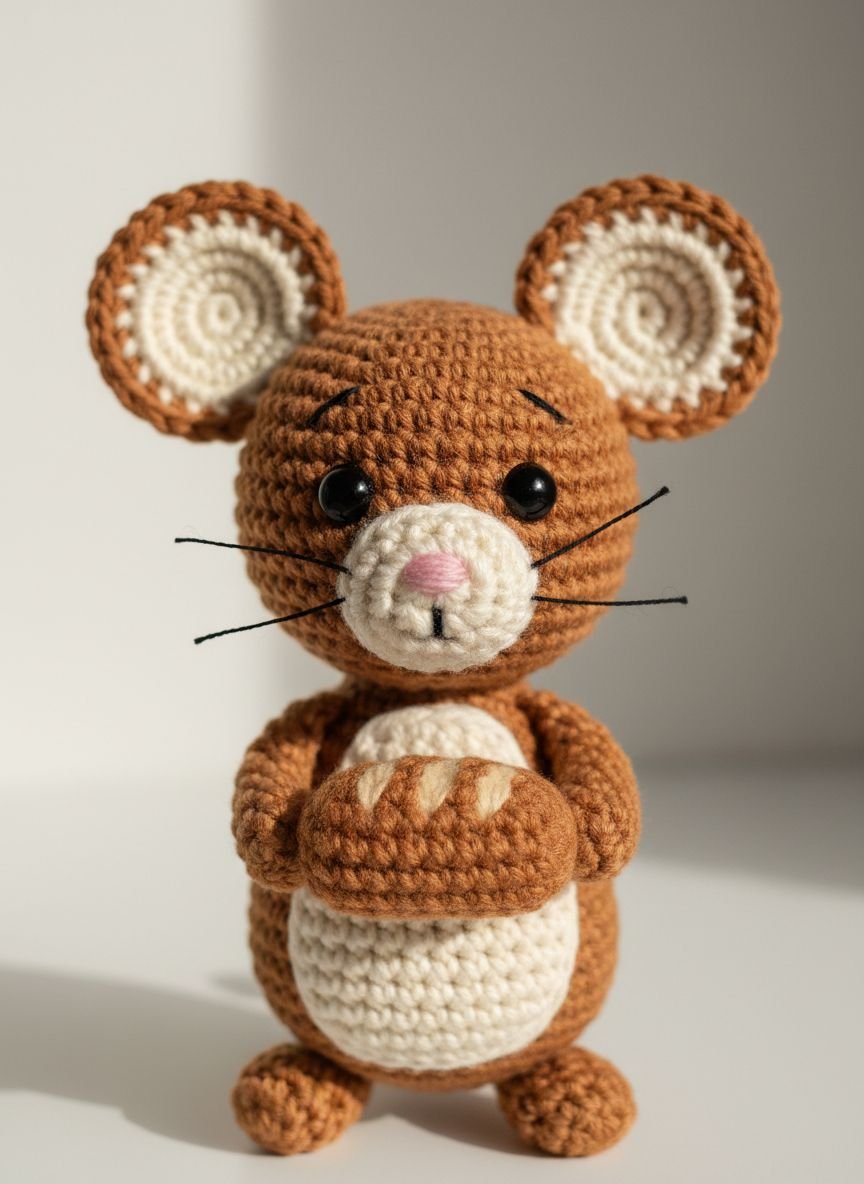
Capturing Jerry’s mischievous personality requires attention to detail, particularly in the ears and snout. This pattern focuses on the smaller scale, making it perfect for desk ornaments or shelf decor. The key to this design is the color change on the tummy and the inner ears, which adds depth and accuracy to the character.
For the best results, use a sport-weight mercerized cotton yarn. Cotton provides excellent stitch definition, allowing the tiny details of Jerry’s fingers and toes to stand out without becoming fuzzy. A unique aspect of this specific style is the potential for posability. By inserting a small piece of galvanized wire (with ends taped for safety) into the tail and arms during the stuffing phase, you can pose Jerry holding a piece of cheese or waving. This dynamic element transforms a static toy into an interactive figure.
Pro Tip: When stuffing narrow parts like Jerry’s arms, use the back of a chopstick or a dedicated stuffing tool to push the fiberfill firmly into the tips.
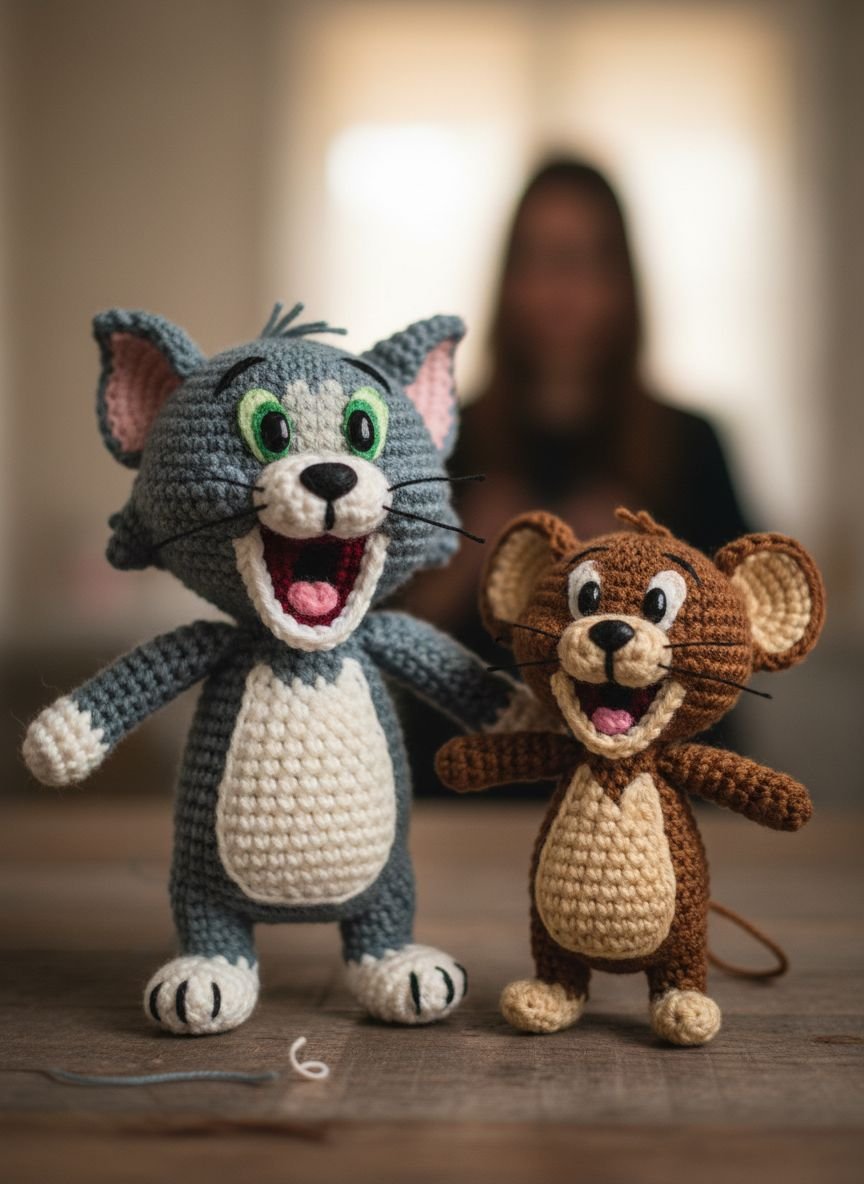
Amigurumi Tom
Tom Cat is a complex character with distinct markings, specifically the white patch on his chest, paws, and the tip of his tail. This pattern tackles those color changes, which can be the most intimidating part of amigurumi. The goal is to keep the transition between the grey and white yarn sharp and clean, avoiding the “jagged” look that comes from standard spiral crochet.
To master this look, utilize the “jogless stripe” or “invisible color change” technique. This involves finishing the final loop of the previous stitch with the new color yarn. The texture of Tom’s fur is best represented by a matte acrylic-cotton blend, which offers the softness of acrylic with the durability of cotton. The eyes are the window to Tom’s expressions; while safety eyes are standard, using needle felting or cut felt shapes glued onto the face allows you to create his signature suspicious or angry eyebrows.
Pro Tip: Embroider the whiskers after the head is fully stuffed and closed. Pull the black thread through the head so the knot is hidden inside the stuffing.
Fat Toys
Distinct from the “Chubby” style, the “Fat Toys” category refers to the popular “Tsum Tsum” or loaf-style shape. These are cylindrical, stackable versions of Tom and Jerry that function as much as pillows as they do toys. This design eliminates the neck entirely, creating a streamlined, sausage-like shape that is incredibly satisfying to squish.
This style relies heavily on embroidery to distinguish the characters since the body shapes are identical. You will likely crochet a basic grey or brown cylinder and then sew on the ears, tails, and paws. Because these are often used as throw pillows or bed decor, durability is key. Use a “Bernat Blanket” style yarn and a large hook (6mm-8mm). The lack of complex shaping makes this the ultimate project for a relaxing weekend where you don’t want to constantly count increases and decreases.
Pro Tip: Overstuff these slightly. The filling will compress over time if used as a pillow, so a firm start ensures they keep their loaf shape longer.
Cheesy Cosplay Keychain
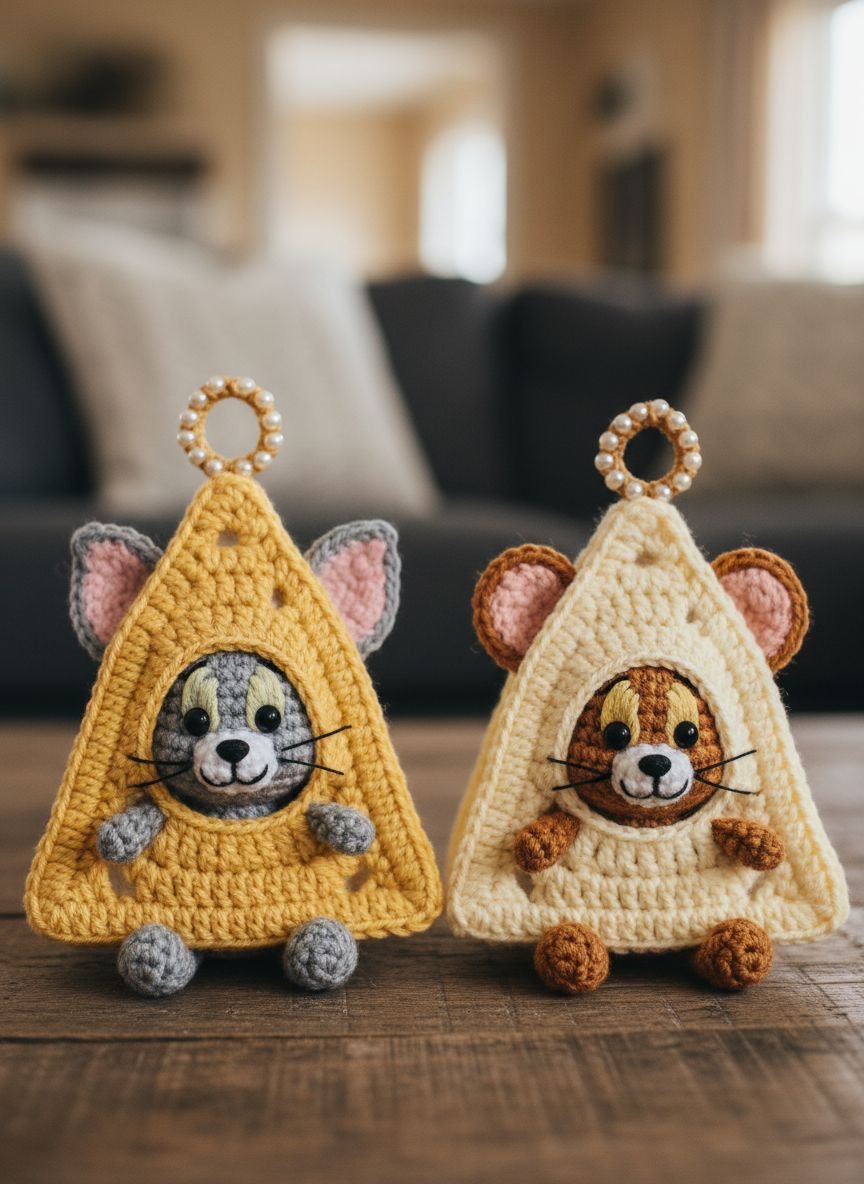
This micro-crochet project is designed for utility and flair. It usually features a miniature Jerry head or a “Tom and Jerry” themed icon, like a wedge of Swiss cheese or a mallet, attached to a sturdy keyring. These make excellent gifts or craft fair items because they use very little yarn and can be mass-produced.
The challenge here is working with small hooks, often in the 1.5mm to 2.0mm range, and fingering weight yarn. Lighting is crucial; ensure you are working under a bright lamp to see your tiny stitches. For the “Swiss Cheese” accessory, you will create intentional holes using chain spaces, a fun deviation from the standard solid amigurumi fabric. Durability is a major factor for keychains. Ensure all ends are woven in multiple times and consider using a drop of fabric glue on the final knots to prevent unraveling inside a purse or pocket.
Save this idea to your Pinterest.
Pro Tip: Use a “lobster clasp” keychain finding rather than a simple split ring. It looks more professional and makes it easier to attach to bags.
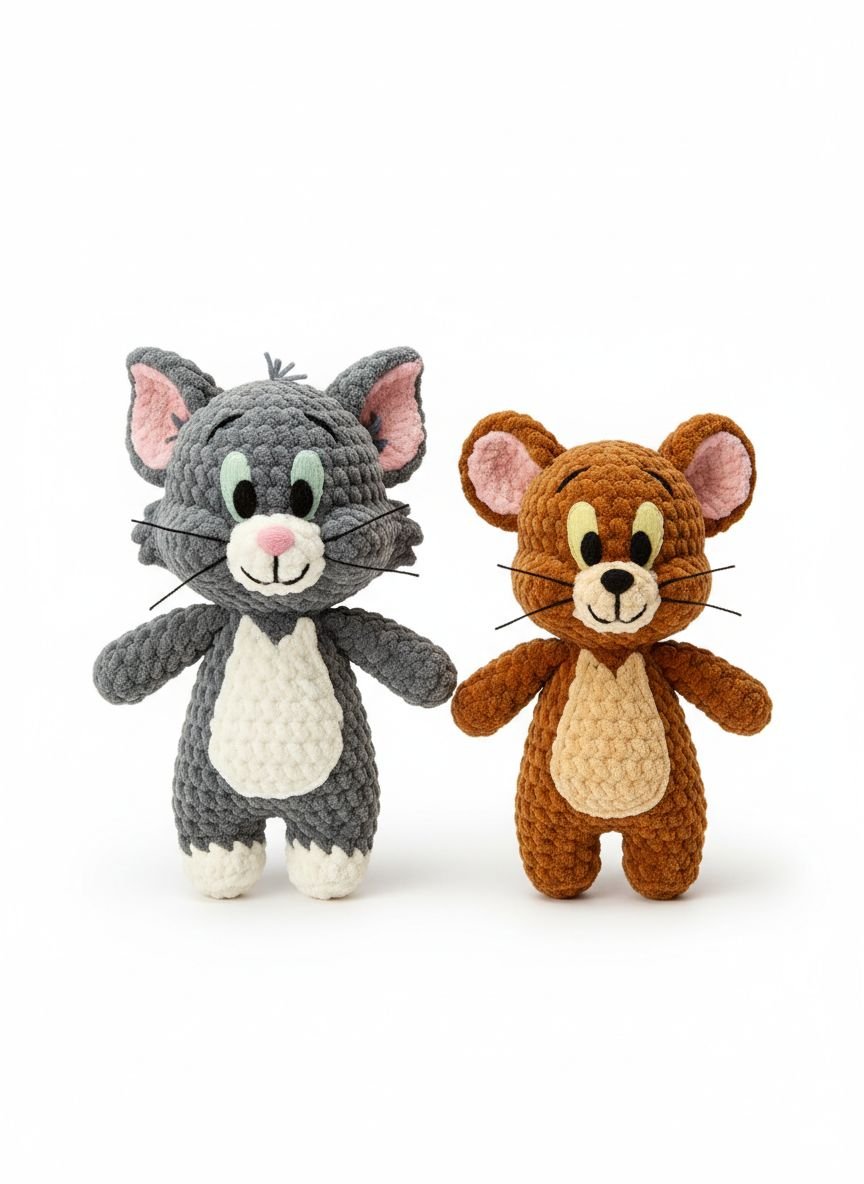
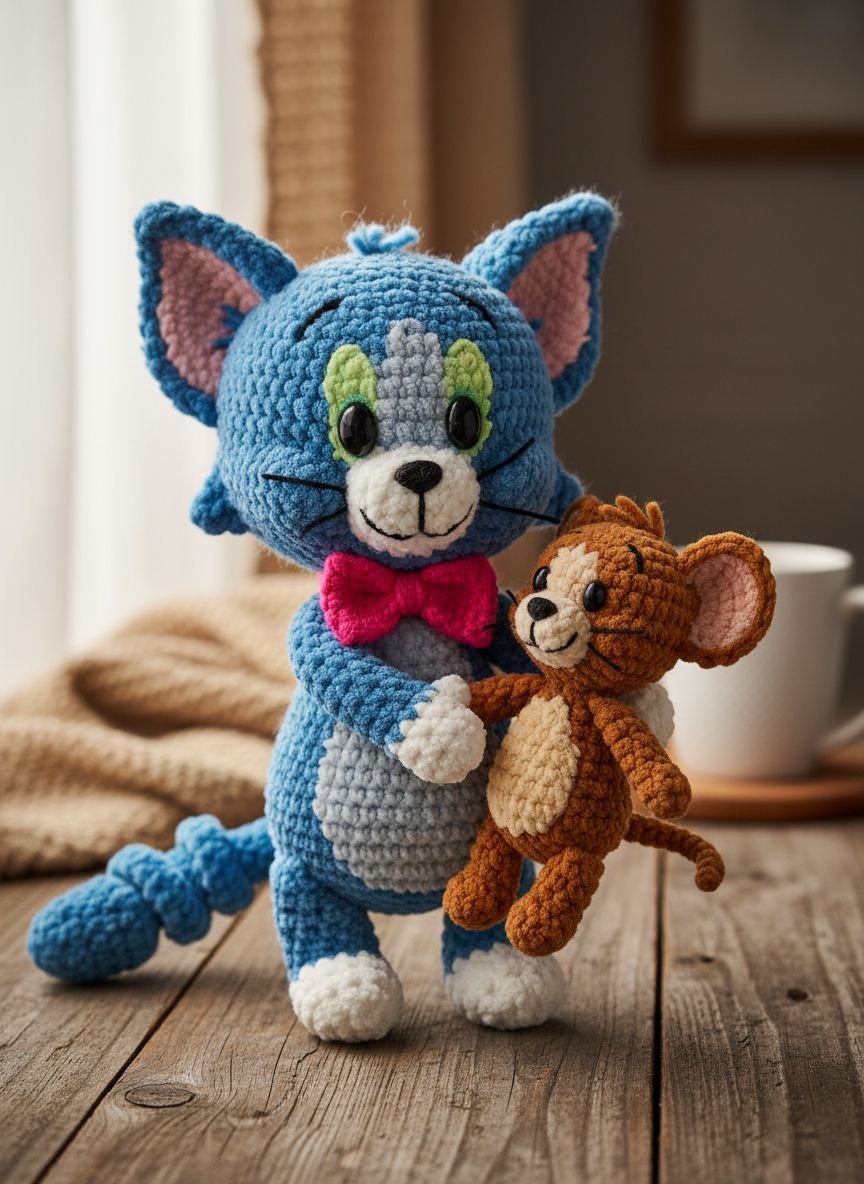
Crochet Classic Duo
This pattern aims for anatomical accuracy, replicating the standing poses of the characters as seen in the original Hanna-Barbera sketches. It involves complex shaping, particularly in the legs and haunches of Tom, to mimic the animalistic yet anthropomorphic anatomy. This is an intermediate to advanced project that requires patience and precise counting.
The narrative of this set is all about proportion. Tom must tower over Jerry, but Jerry must be large enough to hold his own visually. The yarn colors must be specific: a Russian Blue grey for Tom and a warm, golden brown for Jerry. To support the weight of the standing figures, you may need to insert plastic canvas circles into the soles of the feet before stuffing. This creates a flat base that allows the figures to stand upright on a shelf without toppling over.
Pro Tip: For the white sections of Tom’s eyes, crochet a flat white oval separately and sew it on, rather than trying to change colors in the round. It looks much cleaner.
The Little Jerry
Fans of the show will remember Nibbles (also known as Tuffy), the tiny, grey, diaper-wearing orphan mouse often left in Jerry’s care. This pattern captures his smaller, rounder stature and his signature white diaper. It is a fantastic companion piece to the main duo and adds a “family” dynamic to your display.
The color palette shifts here to a lighter grey and white. The diaper is usually crocheted as a separate removable piece or worked directly into the body with a texture change (like working in the back loops only to create a rim). Nibbles is always hungry in the cartoons, so accessorizing this plush with a tiny crochet milk bottle, orange, or turkey leg adds a layer of storytelling to the piece. The facial expression should be wide-eyed and innocent, distinct from Jerry’s clever smirk.
Pro Tip: Use a slightly fuzzier yarn or brush the finished acrylic gently with a pet slicker brush to give Nibbles a “baby fur” texture.
Comparison: Yarn Choices for Character Toys
| Feature | Mercerized Cotton | Acrylic Yarn | Chenille/Velvet |
|---|---|---|---|
| Definition | Excellent (Best for details) | Good (Can be fuzzy) | Poor (Stitches hide) |
| Durability | High (No pilling) | Medium (Pills over time) | Low (Sheds if rubbed) |
| Softness | Stiff/Cool | Soft/Warm | Ultra Soft/Squishy |
| Best For | Keychains, Collector Items | Play Toys, Budget | Pillows, Baby Toys |
Related posts :
Popular Asked Questions
What is the best yarn for Tom and Jerry amigurumi?
For the most professional look, mercerized cotton yarn (sport or DK weight) is the best choice. It has very little fuzz, which means your stitches will look crisp, and the character’s details won’t get lost. If you want a cuddly toy for a child, premium acrylic is a softer alternative that is also machine washable.
Do I need safety eyes for these patterns?
Safety eyes are the standard plastic eyes that snap together. They look great but can be a choking hazard for children under 3. If you are making these for a baby or toddler, it is much safer to embroider the eyes with black yarn or cut ovals out of felt and sew them on securely.
Why do my amigurumi toys have holes in them?
Holes usually happen because the hook size is too large for the yarn. The golden rule of amigurumi is to use a hook 1-2 sizes smaller than what the yarn label recommends. This forces the stitches to be tight and dense, preventing the white stuffing from showing through the colored yarn.
How do I wash my crochet plushies?
Hand washing is always the safest method. Fill a sink with cool water and a mild detergent. Submerge the toy and gently squeeze it to clean the fibers—do not wring or twist it, as this distorts the shape. Roll it in a towel to remove excess water and let it air dry completely for 24 hours.
Conclusion
Crocheting your own Tom and Jerry set is more than just a craft project; it is a way to preserve a piece of animation history. Whether you choose the “Chubby” version for a quick gift or the “Classic Duo” for a display piece, the time you invest will result in a keepsake that lasts for years. These patterns offer a fantastic way to practice advanced techniques like color changing and shaping while creating something universally recognizable.

Leave a Comment